
Ombre whipped cream cake — step by step
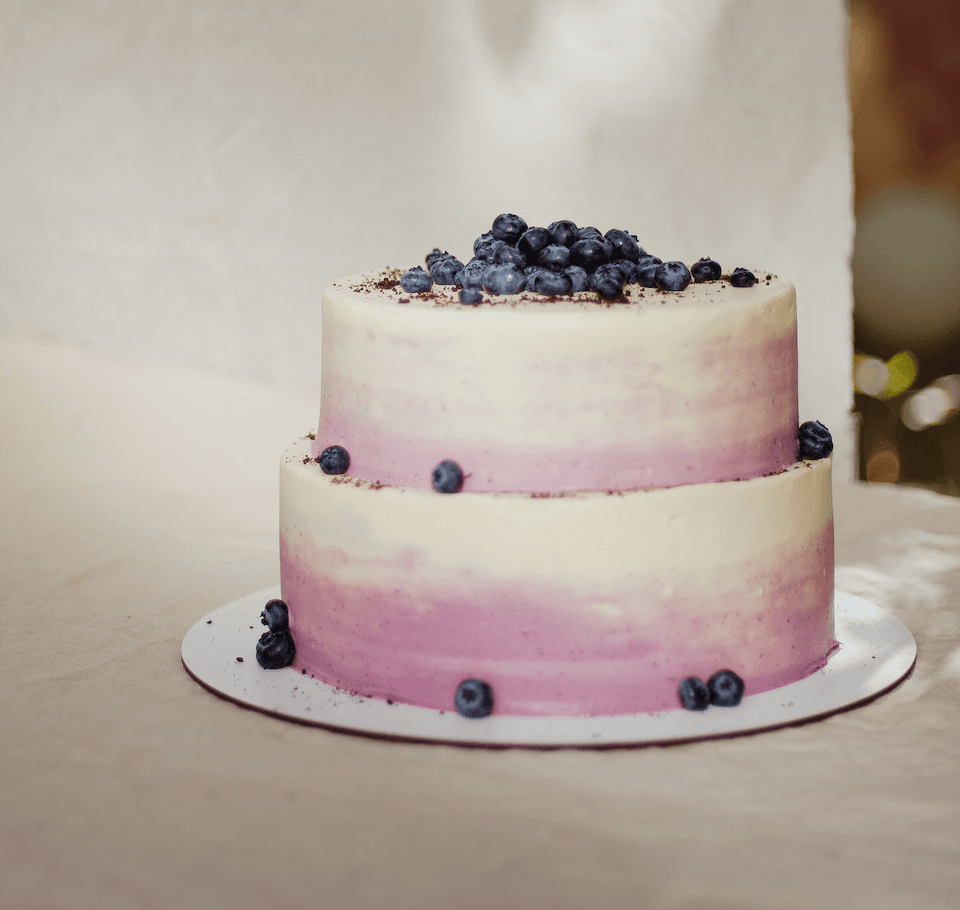
The ombre effect looks far more complicated than it is — you just need cream split into several bowls and tinted in progressively lighter shades of the same color, applied in horizontal bands and smoothed until the colors blend at the edges. For the base whipping procedure, see the stable whipped cream guide, and for how much cream you’ll need for your cake’s diameter, see the quantity guide.
What you need besides the cream
A finished, crumb-coated cake (crumb coat already applied and chilled), a cake turntable (not required, but makes the job much easier), a straight offset spatula and a bench scraper, and gel food coloring in one shade of your choice.
Tips for a clean color transition
Make 4-5 bowls with the same color at decreasing intensity (add less gel to each successive one), rather than mixing colors "on the fly" — it’s much easier to control the result in advance than mid-application. Apply each band thicker than you think you need — the scraper will remove the excess and blend the edges at the same time.
Ingredients
- A finished 20-24 cm cake, coated with a thin layer of whipped cream (crumb coat) and chilled
- 800 ml whipped cream for the outer decoration (adjust to your cake’s diameter)
- Gel food coloring in one shade of your choice
Method
- Whip the cream following the stable whipped cream guide and split it into 4-5 bowls.
- Tint each bowl at decreasing intensity of the same color, from darkest to almost white.
- Apply the darkest shade in a band at the base of the cake, the next shade above it, and so on up to the lightest at the top.
- Holding the scraper against the side of the cake at a slight angle, rotate the turntable (or the cake) a full circle to remove the excess and blend the color boundaries.
- Clean the scraper after each rotation and repeat until the transitions are smooth.
- Smooth the top edge with the spatula and chill the cake for at least an hour before slicing or further decorating.
Read next
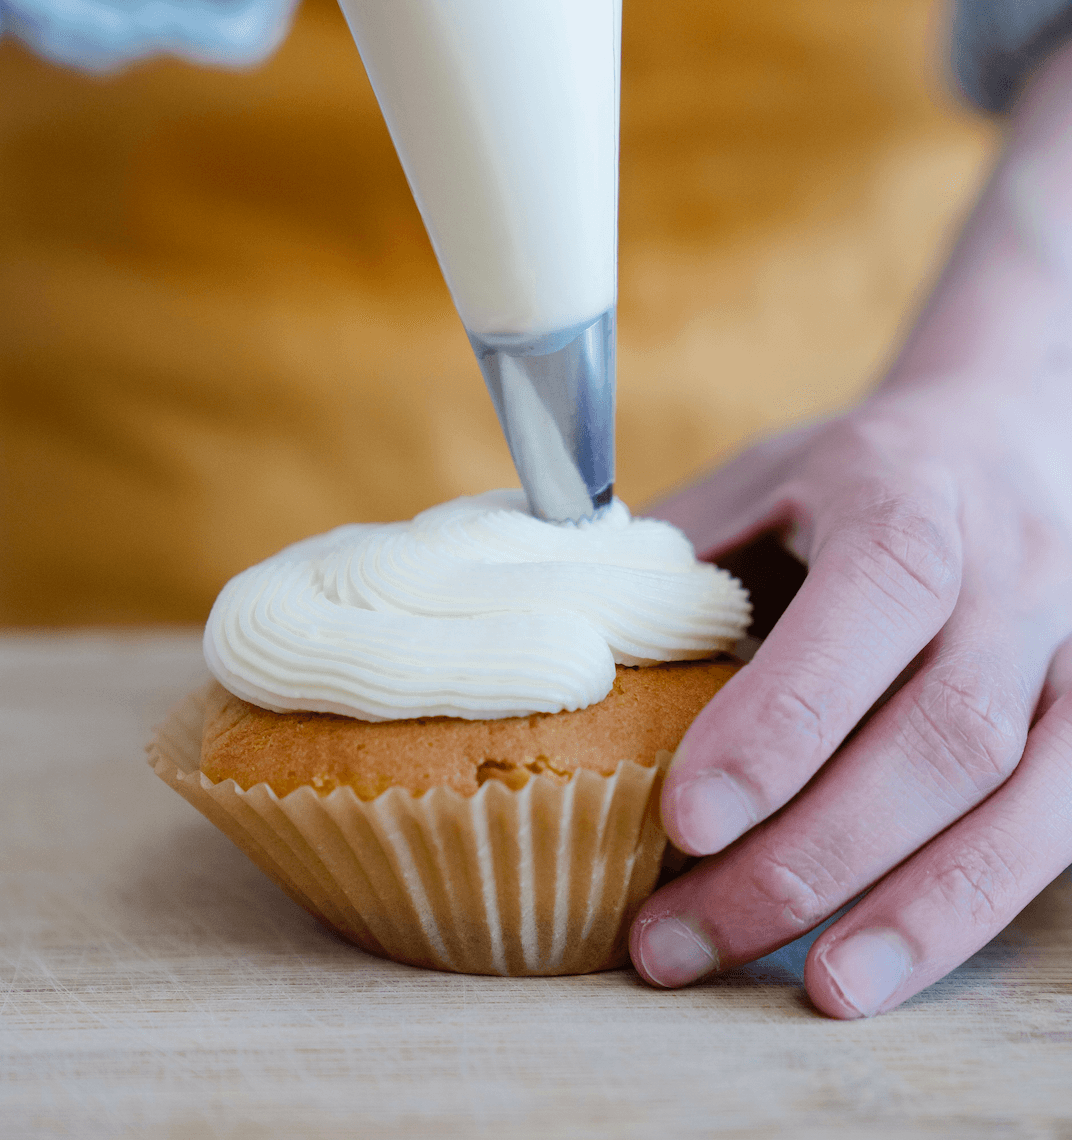
How to make stable whipped cream for cake decorating
Powder-to-liquid ratio, temperature, and whipping time — step by step to whipped cream that holds its shape on a piping bag and doesn’t weep.
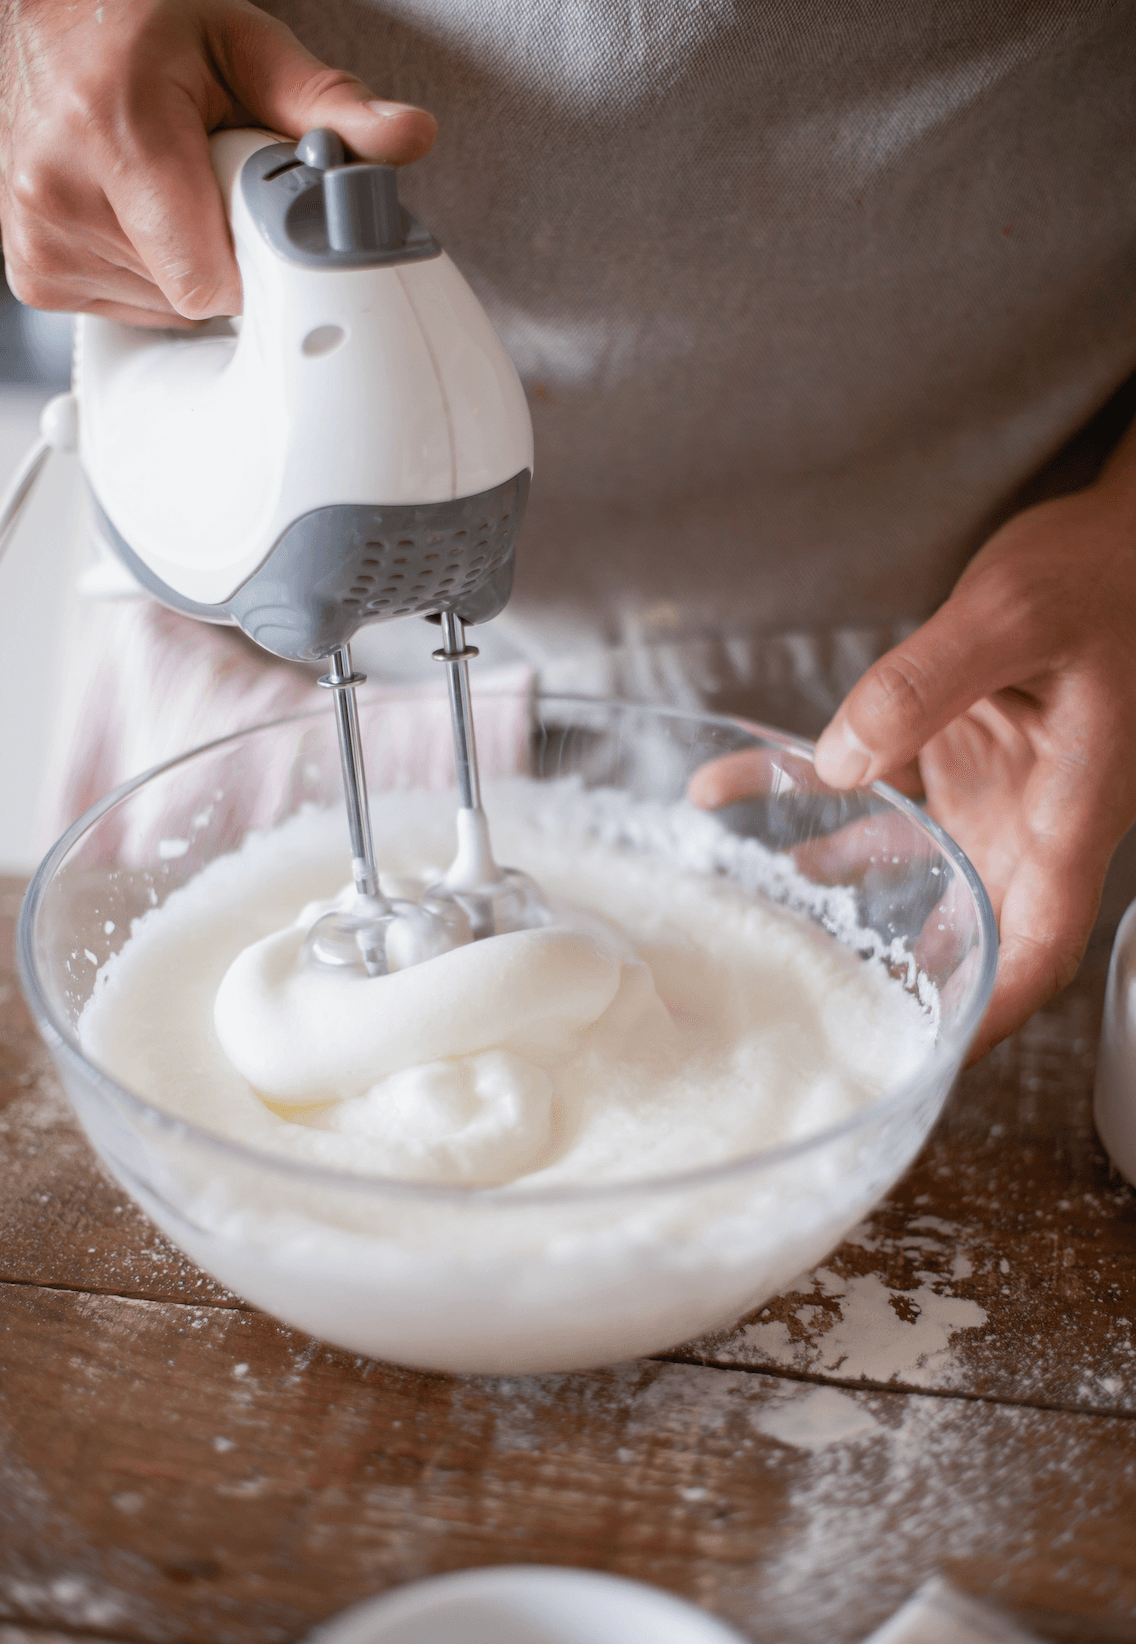
Why won’t my whipped cream set — 7 common mistakes
Whipped cream staying watery, not rising, or splitting an hour later? Here are seven common causes and how to fix them on your very next cake.
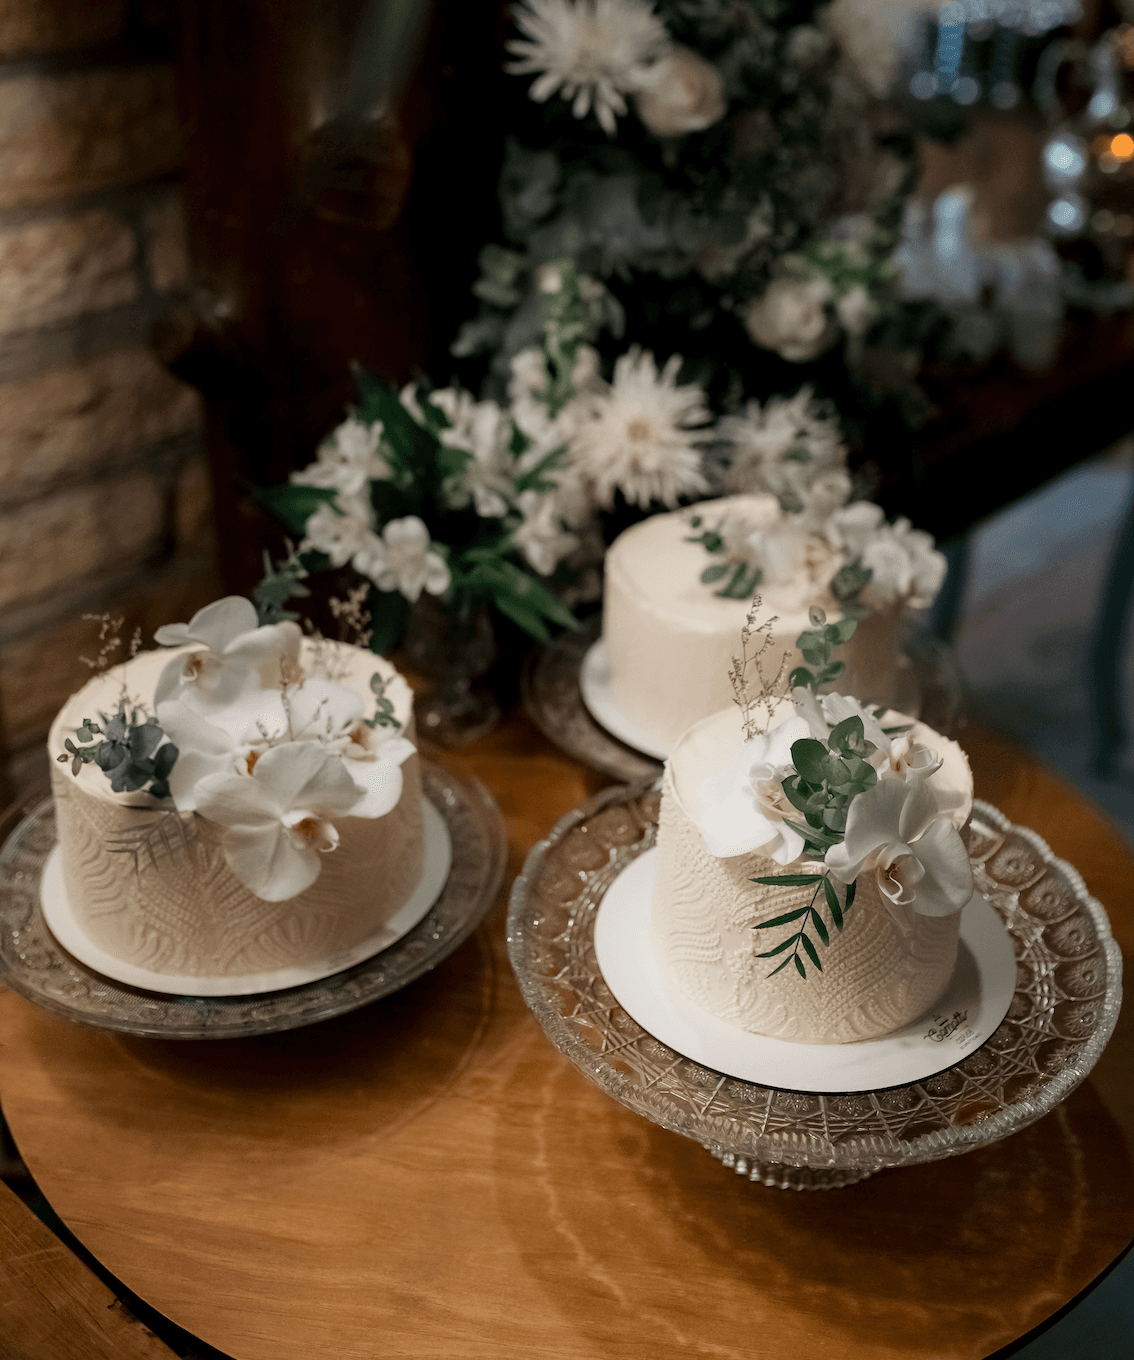
How much whipped cream do you need for a cake — a diameter guide
A rough amount of whipped cream by cake diameter (18-30 cm), for filling and decorating separately — so you don’t buy too much or too little.